1. Inserting images and graphs into your scientific poster
Topic: Learn how to insert images and graphs into your scientific poster from other applications or from any folder in your hard drive.
Understanding the concept of Image Galleries
In PosterGenius™ you can insert individual images or sequences of images with, say, the same subject. The second option is very handy if you have sequences of images referring to the same concept or topic and you would like to label them e.g. Figure 1.a., Figure 1.b., Figure 1.c. etc. A sequence of images that relate to each other and are to be placed near each other is called a "Gallery". PosterGenius™ has built-in functionality to automatically manage Galleries including their placement, arrangement and alignment.
Pasting images and graphs from another application
The following technique is very handy if you have prepared an abstract or paper that includes your images and graphs. It is also very handy if all your images and graphs are included in a single file.
From the section structure tree, click on the section of your poster where you want to insert your image.

Go to the application where your image exists. Select and copy it using the menu, by right-clicking on it and pressing "Copy" or via Ctrl-C on your keyboard.
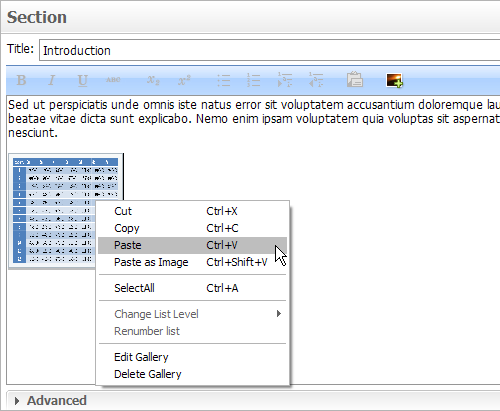
Switch to PosterGenius™. Left-click inside the Section content area, at the point where you want to insert your image. Paste your image using right-click and "paste"
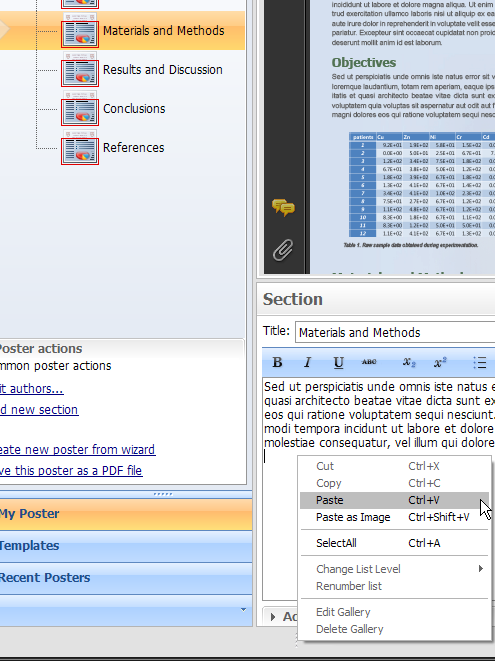
or the "Paste" button in the toolbar or Ctrl+V keyboard stroke.
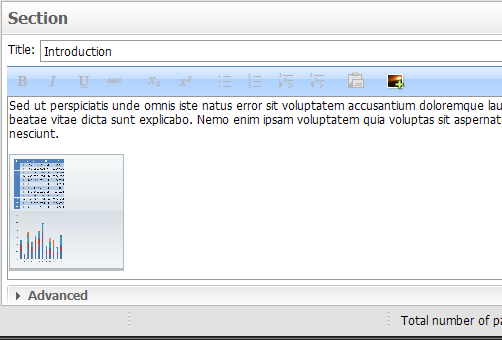
A Gallery icon is created, in which you can see a thumbnail of the image you just pasted.
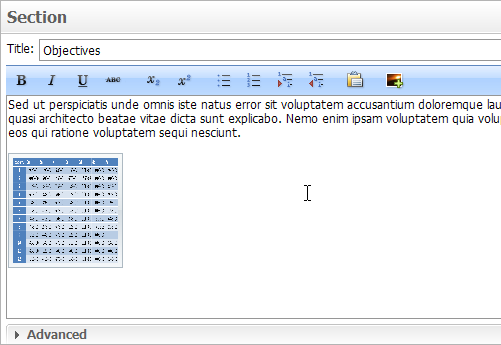
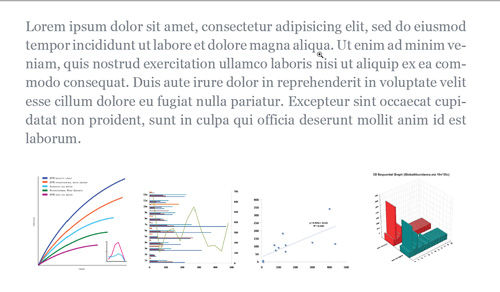
You won't need to adjust the size or arrange the alignment of your newly inserted image. The built-in Image Optimizer will do it for you automatically. Refresh your poster to see your changes.
You can easily insert a second image in the same area. Go to the application and file where your image exists. Select and copy it as before.
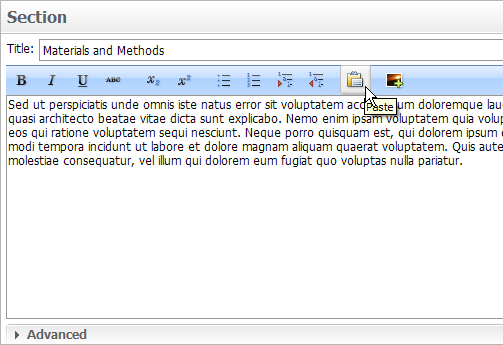
Go to PosterGenius™. Select the Gallery thumbnail as before. Click on "Paste" or right-click and “Paste”.
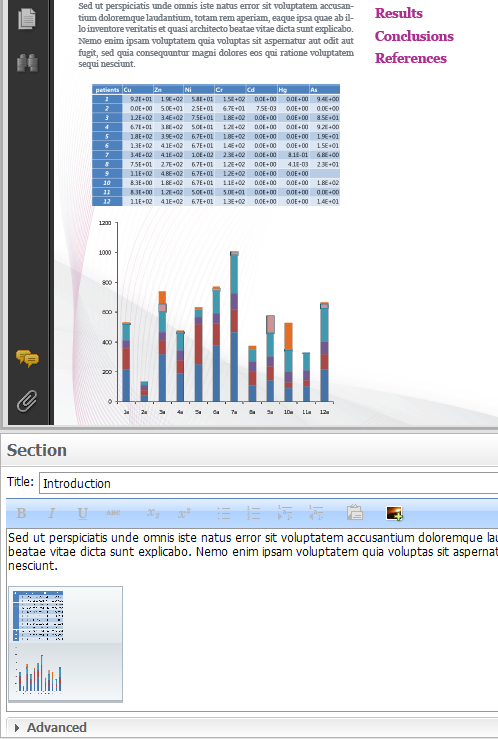
Notice that the thumbnail of the second image you pasted, is added inside the Gallery icon. Adding images inside the same Gallery is ideal if you would like to insert a number of images that are part of a conceptual sequence.
Save your poster. You won't need to adjust the size or arrange the alignment of your images. The built-in Image Optimizer will do it for you automatically. Refresh your poster to see your changes.
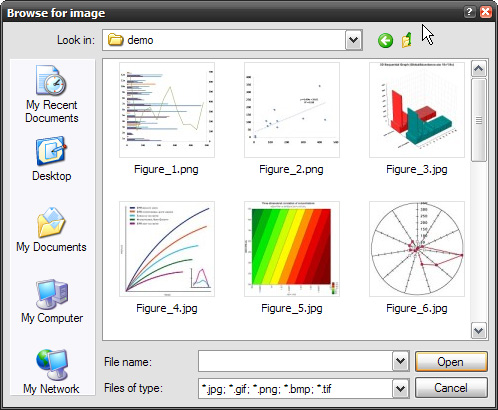
Inserting images and graphs from files.
ΑΤ A GLANCE: The following technique is very handy if your images are stored as files in your hard drive.
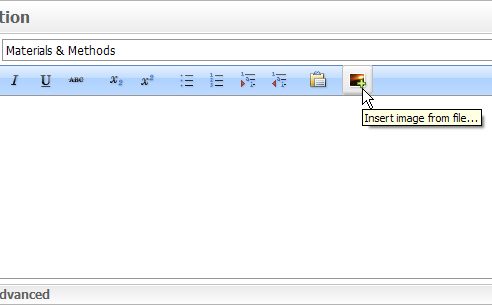
Click on the section of your poster where you want to insert your image.
Click on the "Insert from file..." button.
Browse to the folder where you have the images you would like to insert. You can choose one or more images from your hard drive. Press "Open".
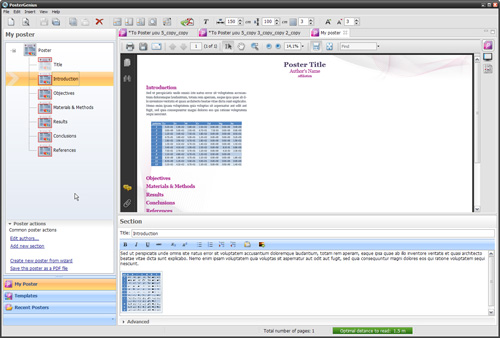
A Gallery is created inside the section. Inside the Gallery icon you can see thumbnails of the image(s) you have inserted.
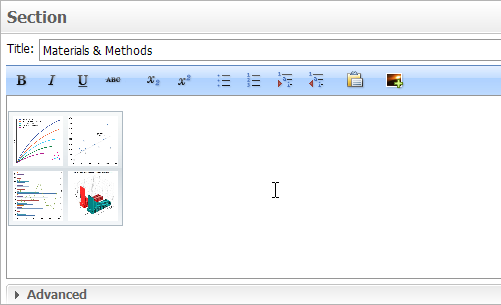
Refresh to see the images in the poster. You won't need to adjust the size or arrange the alignment of your images. The built-in Image Optimizer will do it for you automatically. Refresh your poster to see your changes.
Related tutorials
- Changing the layout of your images and graphs
- Adding captions to your images and galleries
- Adjusting the dimensions of your images
Note: To view the tutorials you will need Adobe Reader or any other application that can open PDF files.
Adobe Reader is available for free download from Adobe Systems, Inc.: www.adobe.com


Beginning January 1, 2019, support for PosterGenius has ended.
No further maintenance updates, technical support, or product downloads will be available. Tutorials and FAQs will continue to be available on our website


Connect with us
Stay updated on offers, new stuff,
poster presentation tips and events.


