5. Changing and adjusting your workspace layout (perspective)
Topic: Learn how to adjust your workspace according to the dimensions and orientation of your poster as well as the size of your monitor.
Available perspectives
PosterGenius™ lets you choose among four layouts (perspectives) for your workspace. A perspective constitutes an initial layout of toolbars and panels and is fully adjustable. Depending on the dimensions and orientation of your poster as well as the size of your monitor, you may choose any of the predefined perspectives or manually adjust them yourself, in order to make optimal use of your monitor's surface and ease your workflow.
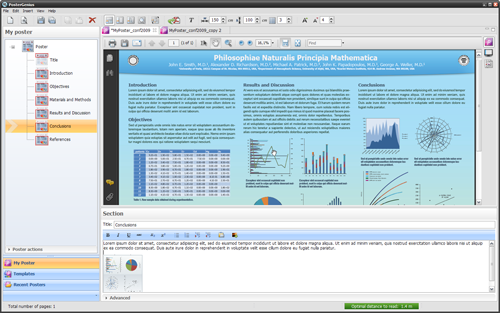
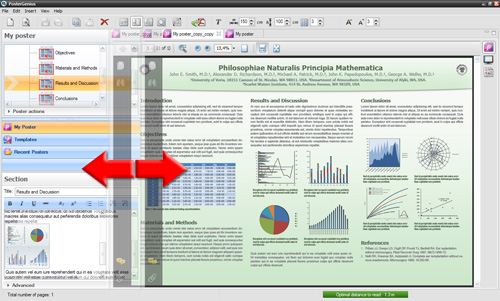
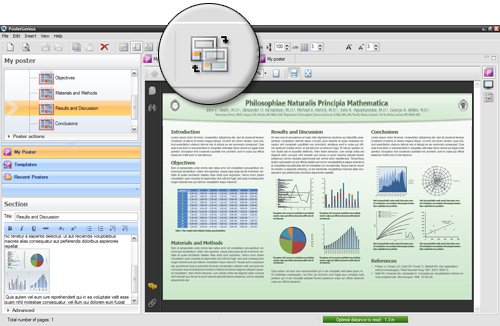
Default perspective.Separates your workspace in four regions. On the top left you are shown the section structure tree, which lists the sections of your poster. Underneath this you are seeing three tabs that help you easily navigate through your poster’s content, the library of templates and other recent posters you have created. On the right top part you are shown the posters you have currently open. Lastly, underneath this you have the region where you enter your content, including text, images and graphs.
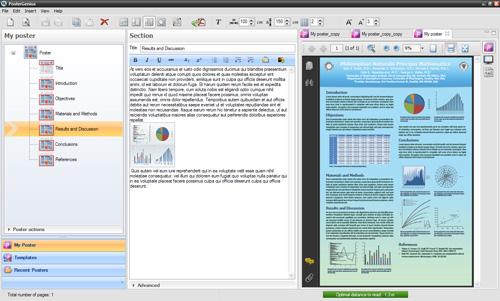
Horizontal perspective. Allows optimal use of your workspace in case your poster is in landscape orientation and you work with a wide monitor (16:9 or 16:10).
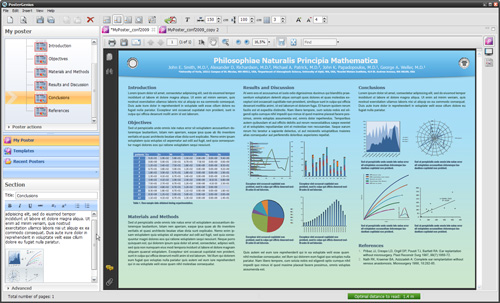
Vertical perspective. Allows optimal use of your workspace in case your poster is in portrait orientation.
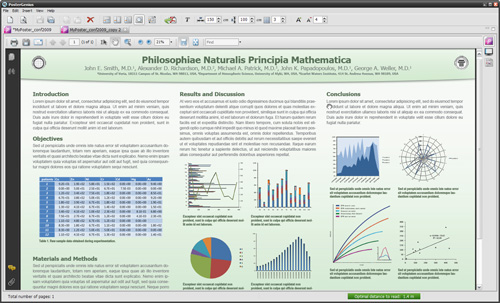
Preview. Hides other panels and spans you’re the view of your poster across the whole surface occupied by PosterGenius™ in order to provide a full-preview.
You can manually adjust the layout of the panels in every perspective according to your prefe-rences. Left-click and hold down to drag the edges of any of your workspace regions.
Apart from the toolbar, you may also use the "View" menu to select any perspective.
After restarting PosterGenius™ it will "remember" the exact arrangements made in every perspective, from the last time you used the application.
To restore any perspective to its initial arrangement, click the corresponding button in the toolbar or from the "View" menu.
Click "OK" in the dialog box that appears to confirm your action.

The perspective is restored to its initial state.
Related tutorials
- Automatic insertion of authors and institutions in your scientific poster, using "SmartPaste"
- Preparing authors and institutions for automatic insertion to PosterGenius™
- Inserting images and graphs into your scientific poster
- Adding captions to your images and galleries
- Fitting the content to the available poster surface
- Adjusting the font size
Note: To view the tutorials you will need Adobe Reader or any other application that can open PDF files.
Adobe Reader is available for free download from Adobe Systems, Inc.: www.adobe.com

Beginning January 1, 2019, support for PosterGenius has ended.
No further maintenance updates, technical support, or product downloads will be available. Tutorials and FAQs will continue to be available on our website


Connect with us
Stay updated on offers, new stuff,
poster presentation tips and events.


