4. Inserting and resizing institution logos
Topic: Learn how to insert and resize institution logos.
Inserting an institution logo
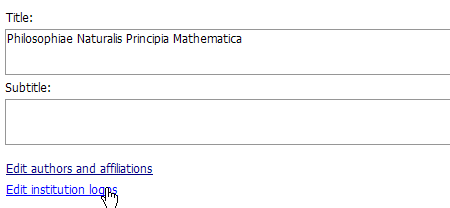
- Click on the “Edit institution logos” in the title region.
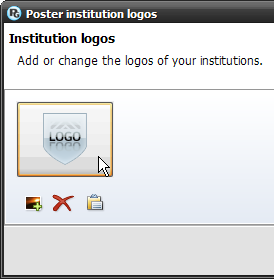
- The pop-up dialog for inserting institution logos will open. Click on the logo thumbnail or the “Insert from file..” button.
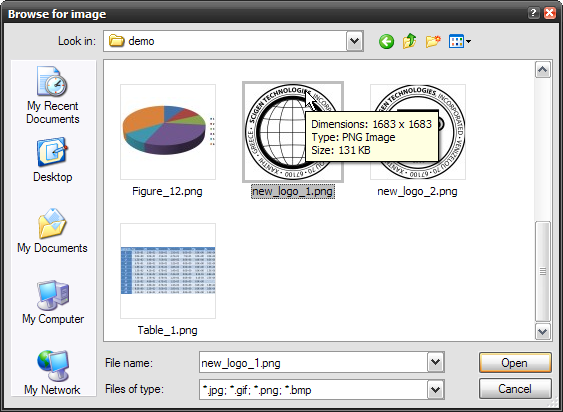
- A new window pops up from which you can browse to the folder you want. Select the logo image you would like to add and click “Open”.
- The institution logo is inserted. Click “OK” and then hit “refresh” on the toolbar to see the logo rendered into your poster.
Once you insert an institution logo, the built-in PosterGenius™ Image Optimizer deals with calculating the appropriate image size and position. Nevertheless you can also manually set the dimensions of the logo you have inserted.
Resizing an institution logo
- Click on the “Edit institution logos” in the title region.
- The pop-up dialog for inserting institution logos will open.
- Right-click on one of the institution logos and choose "Properties".
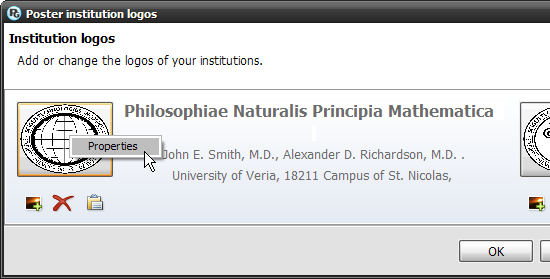
This will open the advanced properties dialog from which you can resize the institution logo
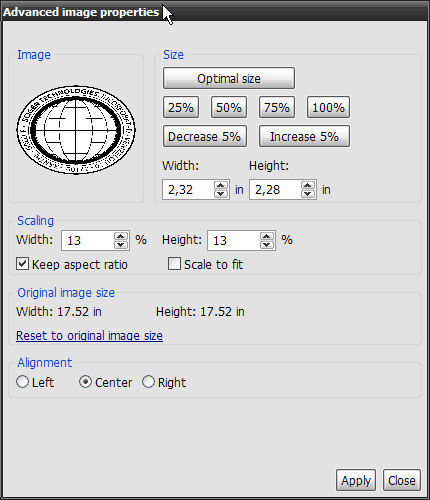
You can now adjust the size of your logos in the same way you can adjust the dimensions of the images and graphs in your poster. For more details check the corresponding tutorial: Adjusting the dimensions of your images.
Related tutorials
- Automatic insertion of authors and institutions into your scientific poster, using "SmartPaste"
- Preparing authors and institutions for automatic insertion to PosterGenius™
- Adjusting the dimensions of your images
Note: To view the tutorials you will need Adobe Reader or any other application that can open PDF files.
Adobe Reader is available for free download from Adobe Systems, Inc.: www.adobe.com


Beginning January 1, 2019, support for PosterGenius has ended.
No further maintenance updates, technical support, or product downloads will be available. Tutorials and FAQs will continue to be available on our website


Connect with us
Stay updated on offers, new stuff,
poster presentation tips and events.


